525 Tully Road
 209-529-9111
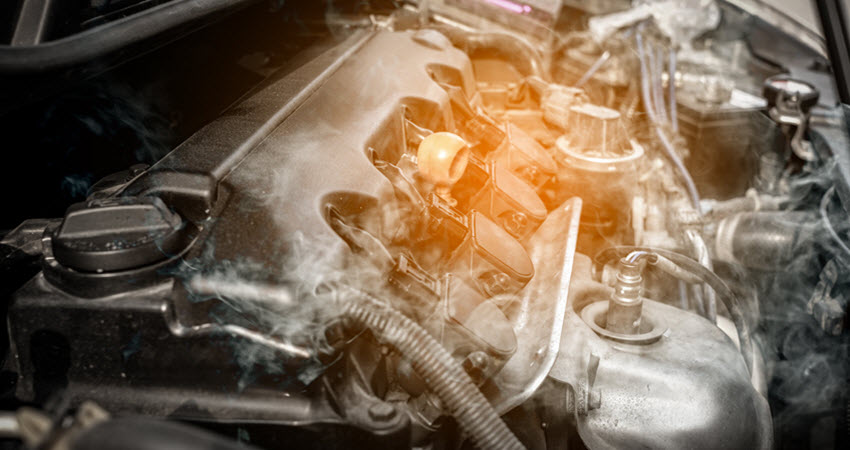
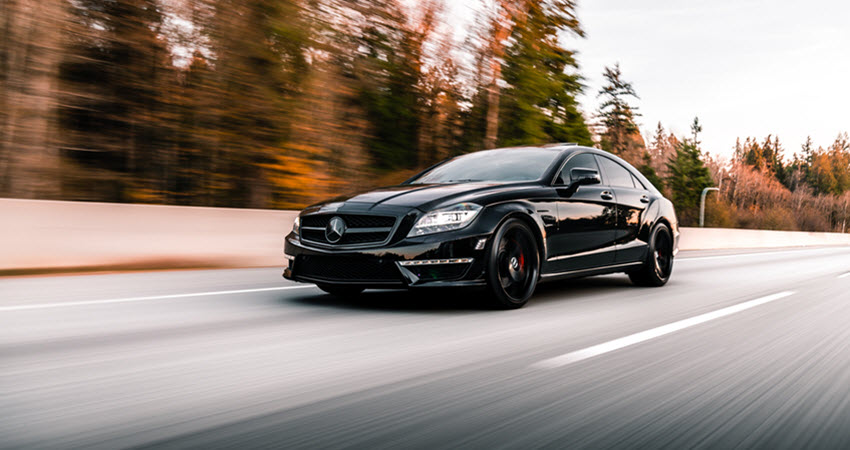
Maserati is one of the most popular Italian high-end cars, known for its powerful performance and advanced features that make heads turn when it rolls down the roads of Modesto, California. However, for Maserati owners in Modesto, protecting their engines from overheating is a major challenge. In fact, some Maserati drivers do turn up at our auto repair facility near you in Modesto, CA, to have our professional mechanics fix their engine overheating issues. At Kruse Lucas Imports, we are going to share with you the top 5 maintenance tips to help protect your Maserati’s engine from overheating issues.
Top 5 Maintenance Tips For Your Maserati
There is no doubt that Maserati drivers love to push their cars to the limit, as the Italian marque is designed to dominate the roads. Here are the 5 most important maintenance tips for Maserati drivers:
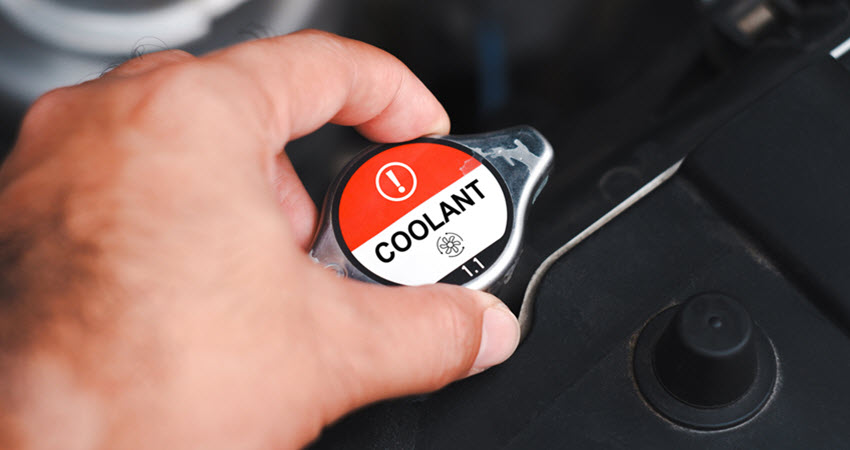
1. Keep a Tab on the Coolant Levels
The coolant is one of the most important fluids for preventing your Maserati’s engine from overheating. In fact, the cooling system in your high-end car is one of the most complex systems, working in unison to maintain optimal engine temperature. Most of the time, drivers who neglect their cooling system maintenance end up with severe engine overheating that ultimately leads to engine seizure.
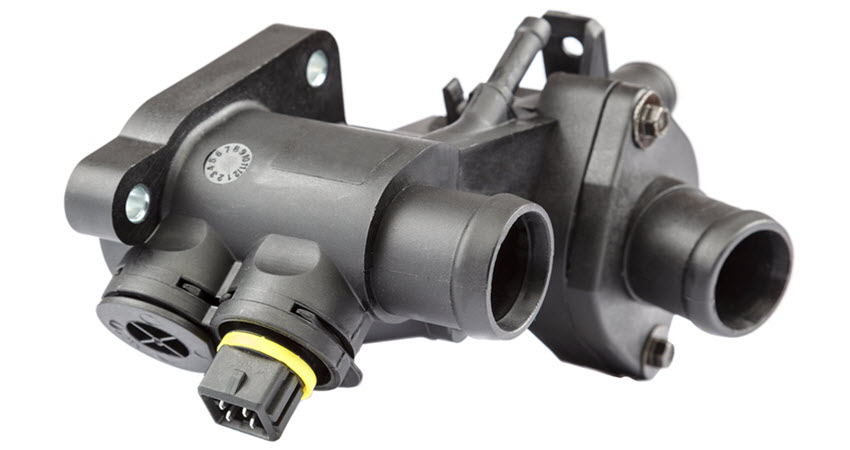
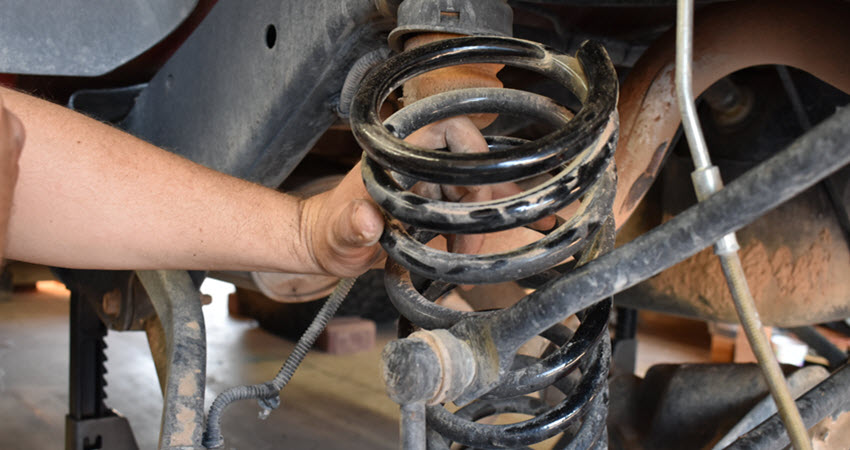
Now, maintaining the cooling system starts with coolant level inspection and flushing, which keeps the coolant in your car in good condition. In addition, maintaining the radiator and hoses on your high-end vehicle is very important, as they are prone to leaks after a few years. Furthermore, a failing thermostat impairs the smooth flow of coolant and needs to be inspected periodically.
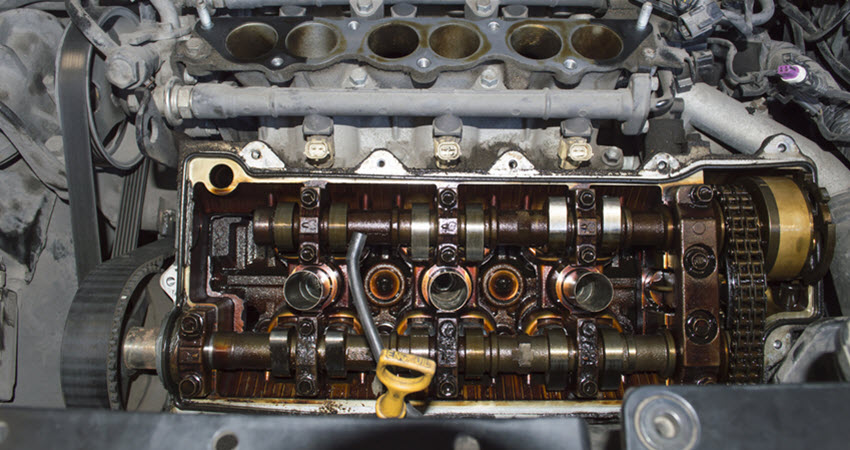
2. Use High Quality Synthetic Oil
The engine oil is the lifeblood of your Maserati’s engine, lubricating its internal components and helping prevent overheating. Moreover, you cannot just add any kind of engine oil to your vehicle. This is because high-end cars like Maseratis rely on top-quality synthetic oil for smooth operation and better performance. In fact, Maserati owners who consistently use high-quality synthetic oil in their vehicles report fewer engine problems than those opting for general engine oils.
3. Inspect the Air Intake System
The air intake system in your Maserati is designed to provide the engine with a gust of air during high-speed requirements. However, as your car gains miles, the hot, dusty central valley air can take a toll on engine performance, leading to a drop in performance and engine overheating. That is why it is very important to replace the air filter in your Maserati according to the manufacturer-recommended maintenance schedule. Moreover, when replacing the air filter, you should also have your Mass Airflow (MAF) sensor inspected for any underlying issues.
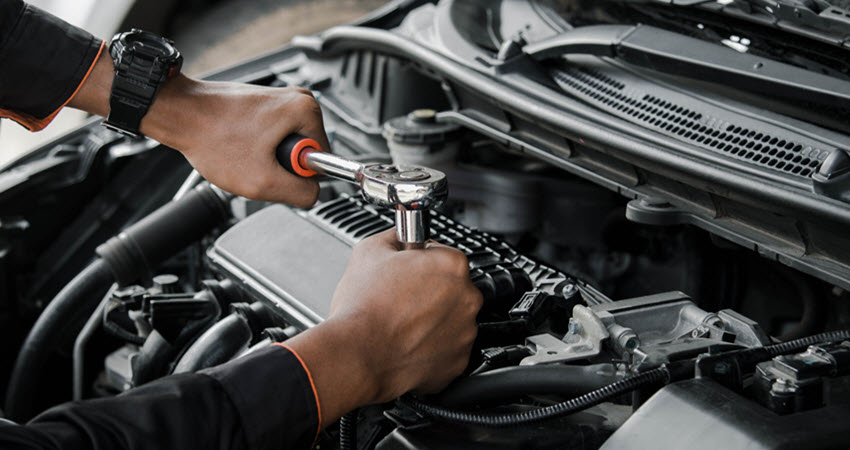
4. Take Care of Belts and Hoses
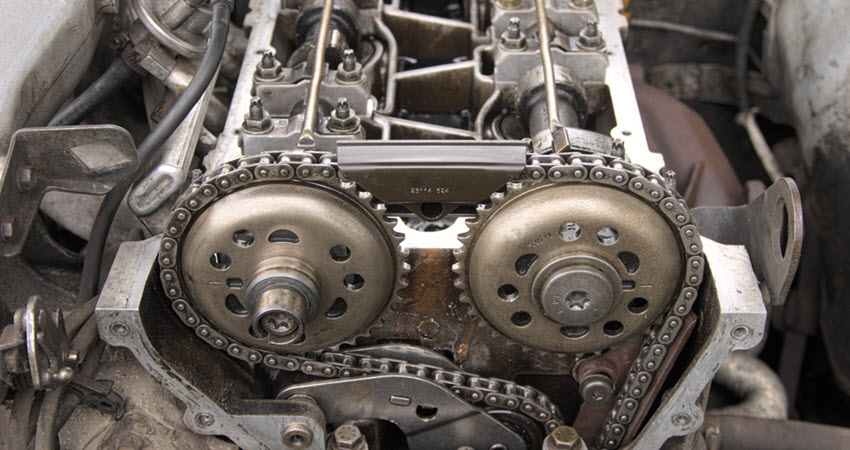
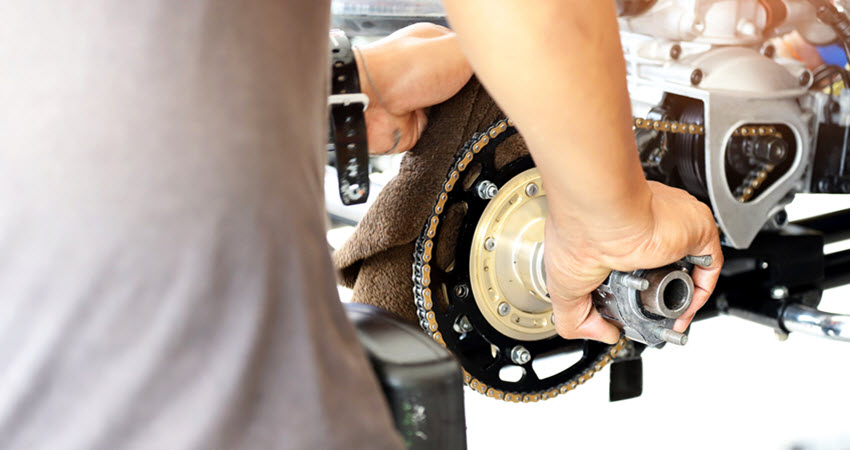
Under the hood of your Maserati, temperatures can reach extreme levels, and this is when rubber belts and hoses might crack, harden, or deform. This is why inspecting the belts and hoses during your oil change schedule is important, as any problem can be addressed immediately. Upon inspection, if you notice any wear and tear on your Maserati’s timing belt, have it replaced immediately to restore optimal engine function.
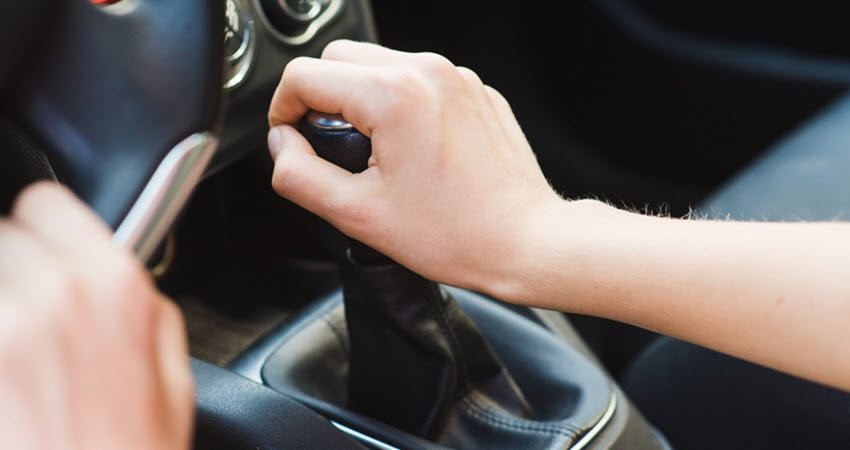
5. Keep Track of Battery and Electrical System
Now, you might be thinking, what does the battery of your Maserati have to do with its engine? However, as your Maserati comes equipped with highly advanced features, these systems are especially sensitive to voltage irregularities that can affect the smooth running of the engine. That is why testing the battery of your Maserati at least twice a year is very important, so that any issues with its performance can be addressed quickly.
Why We’re The Top Maserati Service and Repair Facility in Modesto, CA
We at Kruse Lucas Imports, located near you in Modesto, CA, have years of experience fixing high-end cars like Maseratis. In fact, our state-of-the-art auto repair facility is equipped with the latest factory-grade tools and advanced diagnostic equipment to meet all maintenance needs for your Maserati. Call or contact us today to make an appointment with Kruse Lucas Imports, and we will have your Maserati back on the road in no time.
* Maserati MC20 Sports Car image credit goes to: jetcityimage.